FISCALIZING AN INVOICE
This article provides a step-by-step guide on how to create, approve, and fiscalize an invoice in Xero
Log in your XERO Account
STEP 1
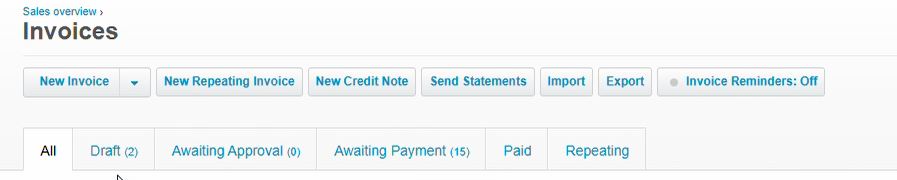
Navigate to the Invoicing Section
In your Xero dashboard:
Go to the top menu and click on "Business".
From the dropdown menu, select "Invoices"
This is the section where you start creating a new sales invoice to bill a customer for products or services.

- Then click "New Invoice" (usually a button at the top right).
STEP 2
Fill in the Invoice Details
Fill in the details:
Customer name
Date (ensure it matches fiscal period)
Line items and taxes
Add a description (e.g. “Consulting Services”).
Input quantity and unit price.
Notes or additional fiscal data (if required)

STEP 3
Approving the invoice
Clicking "Approve" to finalize the invoice (usually to left corner).
This locks the invoice and makes it eligible for fiscalization

STEP 4
Viewing the FISCAL INVOICE
Option 1
- Log in your FISCAL HARMONY Account
- Go to INVOICE LOGS", In this part you can filter transactions, duration and search for a specific invoice
- Once the invoice is located, click "VIEW DOCUMENT"

Option 2
While in XERO,
From your Xero dashboard, navigate to:
Business > Invoices
- Click "File" to expand the list of attached documents.
- In the dropdown list of attachments, click "View" next to the document indicating you'd like to open.
The Tax Invoice will appear as demonstrated below
NB: USER CAN DOWNLOAD OR PRINT THE FINAL INVOICE FROM THIS WINDOW

Was this article helpful?
That’s Great!
Thank you for your feedback
Sorry! We couldn't be helpful
Thank you for your feedback
Feedback sent
We appreciate your effort and will try to fix the article